Saturday, June 4, 2011

MONOPOLY MONEY/HOUSES AND A TIN CAN

While browsing through someones link party(I can't remember whose or even what blog I went to wish I did so I could give them both credit) I came across a project someone had done out of a tin can and monopoly money.  I thought that would be fun and easy.  Now when you see mine you can have a good laugh.  It's not pretty but hey I am going to use it to put a plant in. Who knows how it's going to hold up but everything was free.  The tin cans, monopoly money and houses I got off Free Cycle. So for your viewing pleasure here is what I started with.


A gallon tin can, monopoly money and the green houses.  I only used the 1, 5, 10, 20 and 50 play money.  Using my handy dandy Mod Podge I glued the money all around the can.  There was a small space at the bottom where the money did not cover the can.  I started to put more of the money there but decided to glue the greens houses around the bottom.  For this I used Gorilla Glue.  When I finished with the houses at the bottom I thought the top looked  rather bare so I spaced some houses around the top.
Ok it's not beautiful or even pretty (hmm where have I heard that line at before anyone know?) but it was kinda fun doing it.  Since I have thirteen more houses I thought about spacing them equal distance between the ones at the top. What do you think?  Should I or shouldn't I?  I'm going to get an ivy and put it in the can, so maybe that will help make it look better. Course I am going to have to poke some holes in the bottom before I do that to help with drainage or I could put some pop corn and rocks in the bottom to help.  I have to think about which I want to do.  If I ever decide to do another one I am going to put the money in different ways, slanted, straight, etc. that way it will cover the top rim and bottom. 

Give me your honest opinion. Ugly or pretty?  Hey I can take it!! Anyway it's all in the fun of doing it!!! Which I really did enjoy doing except for getting Gorilla Glue on my fingers.  That stuff is hard to get off!!

Monday, May 30, 2011

KEY/MAIL HOLDER REDO

I was walking by my door that goes into the garage the other day and noticed my mail and key holder. I've had this for years and decided it needed a make over.  I went to Walmart and got some supplies that I needed i.e. Mod Podge and some FolkArt Cardinal Red paint and some other items for another project I hope to do this next weekend.  The first thing I did was put some stripper on it to try and get some of the finish off.  This helped some but not much so I then got out my sander and went over it several times trying to remove what I could of the finish.  At this point I should have thought to use a primer on it before I started the painting, but no I didn't think of it until two coats had already been put on.  I kept adding coats of paint until the it was so covered none of the wording or pictures shown through.

.
Please excuse the lousy photography.  I do not have a very good camera, but I thank God for what I do have until the time I can get another one.  This picture is after all coats have been put on.  Not bad but it needed something else.  I have brown glaze I thought would look good on top of the red.  I put a light coat on and this is how it came out.

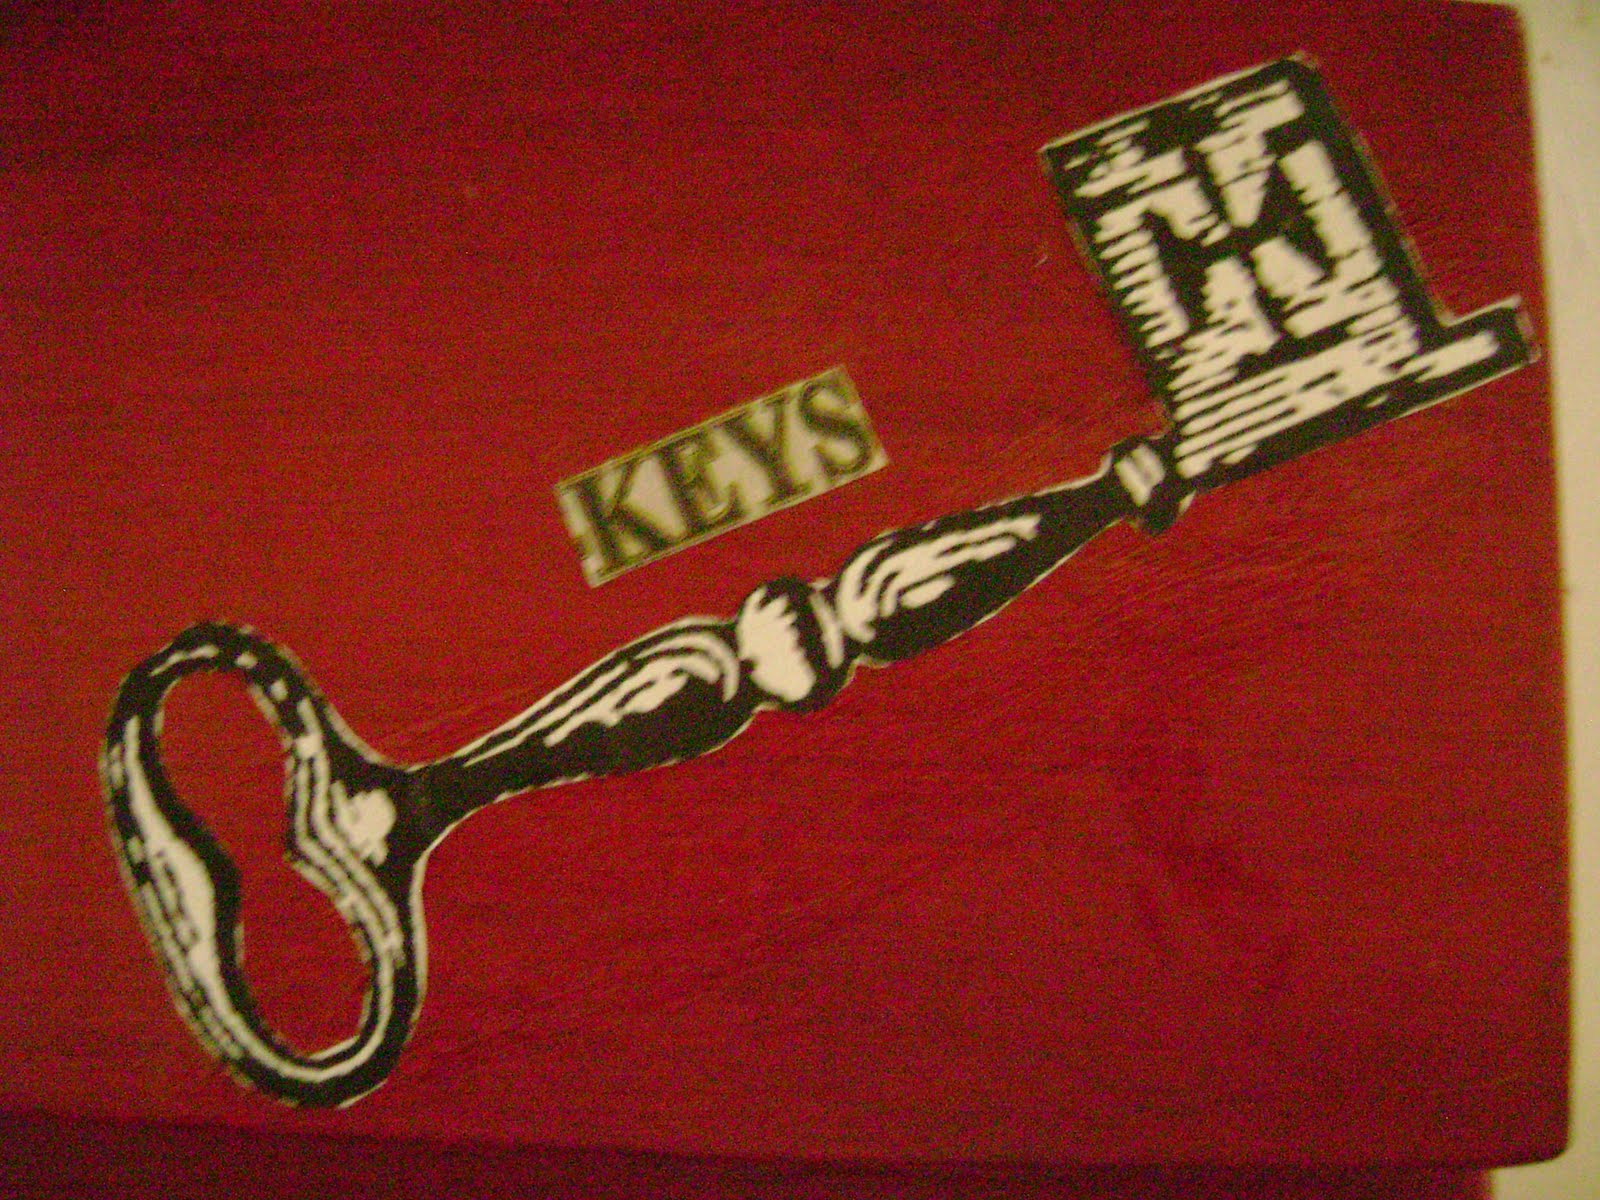
Doesn't seem to be much difference but the red is not quite so glaring.  I added my items I was going to put on the front.  A key and a stamp which I found on The Graphic Fairy.


Here's another look at the stamp.


I got the "mailing service" out of my phone directory.  I thought it looked really good at the top of the stamp.

                            The "keys" also came from the phone directory.

I thought it looked rather bare in the middle so I searched and found this.


Again from the phone directory.  As you can tell I can rarely ever cut anything straight, but again that's o.k. with me.  Here's how it looked after adding the "Adventure Travel."


Much better.  I spray painted the hooks with Krylon Satin Champagne Nouveau spray paint.  Here is the completed key/mail holder.


The only glaring problem with the whole thing is the Mod Podge I was unable to get off when I set the key onto the wood.  You can notice it in the picture because of the shiny part it left.  I tried getting it off put it wouldn't budge.I might try and paint it so it will remove the shiny part.  It's not all that noticeable except when you look at it a certain way and the camera really picked it up.

One project down and a bunch more to go.

Hope you all had a wonderful and blessed Memorial day.

Monday, May 16, 2011

CONTINUING GRATITUDE

76.  More rain!!!  God has given us more rain which is great.
77.  A part-time job that I can do at home to help make extra
money which will last for eight months.
78.  A raise on this paycheck!  YEA!!!
79.  Getting my garage cleaned out. Hurray!
80.  Money to get a new hot water heater (it's leaking) and get my a/c fixed (it's not working)!! THANK YOU JESUS!!  He truly is good to me!
 81.  For my awesome family whom I love dearly!
 82.  The beautiful sunrise only God can make!
83.  Spending time with Mom, my sister, her husband and daughter
Saturday when we took Mom out to lunch for Mother's Day.
84.  For a quick healing on Sunday when I woke up sick and could
not go to church. 
85.  Listening to Kenneth Copeland's 6 CD's on "Developing Friendship With God" and wanting to hear them again because they were SOOOO
good!!